All my garments are finished!! I have all my care and brand tags in, all hanging loops on, all closures in and every hem completed.
We have fittings today, but I'm hoping they all fit pretty well because I don't want to have to do many alterations.
We also had to choose our music that we want for our section for the parade and hand that up today. I chose a song called 'Drop it' by Christian Cheval. I think its got a good beat and it suits my range.
Now time to getting on to finishing my business plan and all the other paperwork!
Wednesday, October 27, 2010
Tuesday, October 19, 2010
Brand tags
I had a very productive day today. I got my brand tags and when I opened the packet I discovered I had 5 dozen when I had only ordered 4. I was pretty happy to get an extra dozen for free.

I did learn today that it is best to order brand tags early and have them before you start making your garments. Some of them were hard to sew to the lining so I had to hand stitch them in. It would be a lot easier to sew them onto the lining and then put the garment together.
The picture is a bit blurry but it shows how my brand tags look.

I also put my care labels in my garments. This was hard because the tafe didn’t have some of the care labels that I needed but I made do with what we had. And I am not planning on laundering my garments so it isn’t necessary to have the exact right tags. Some of these tags were easy to do because I could attach them with the brand tag but others were being inserted into seams.
I then had to put hanging tape into some of the dresses. The strapless defiantly needed it but because I had but boning in the side seams I couldn’t insert them so I stitched them on top of the seam.
If I had to do it over I would order tags early and sew them in as I’m going and also I would sew in care labels and hanging tape as I’m going.
Because I started putting the brand tags and care tags into garments I have started finishing some of them. I feel like I am progressing and getting on my way.
Thursday, October 14, 2010
Callie Got Some Changes
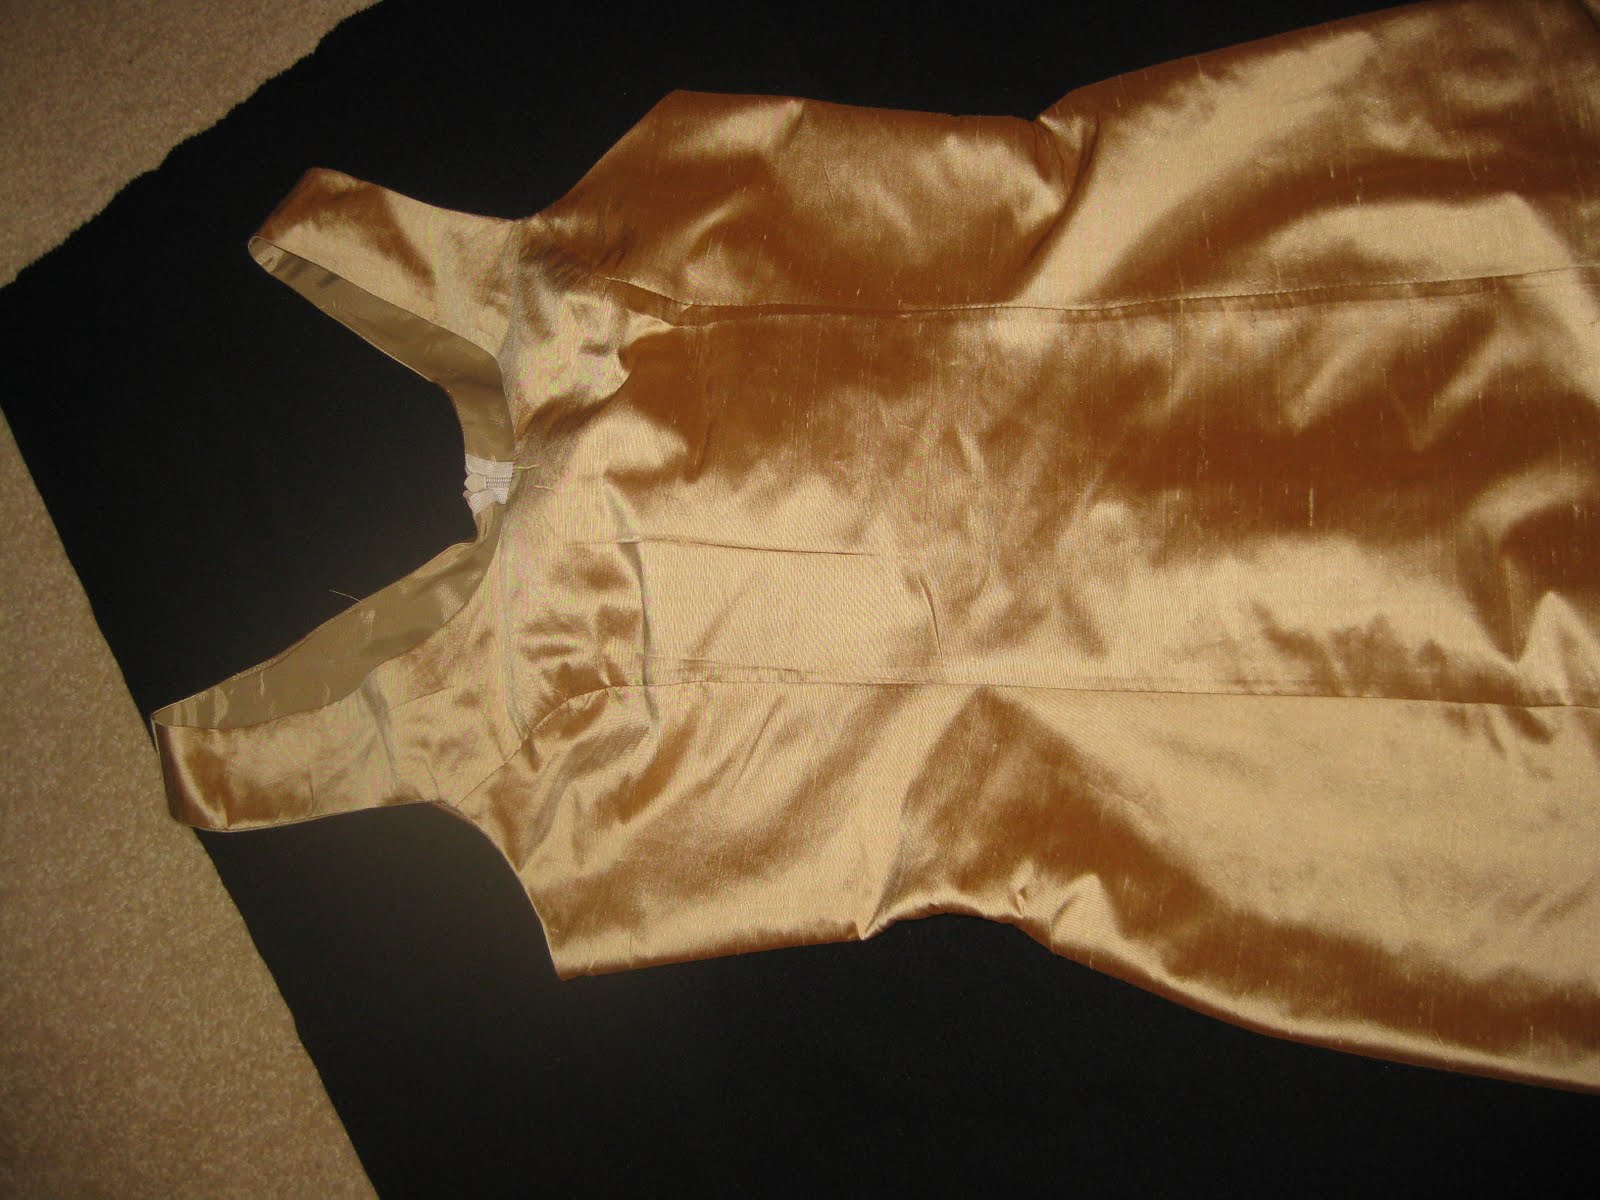
A few days ago at tafe I decided to change the fabric of my ‘Callie’ dress.
I made it up twice in two different gold knits. The picture below shows this. But I wasn’t happy with either of them and I didn’t think that they fitted into the collection. Sue told me to go and look at other fabrics and see if I could find something that I liked to replace it.
I made it up twice in two different gold knits. The picture below shows this. But I wasn’t happy with either of them and I didn’t think that they fitted into the collection. Sue told me to go and look at other fabrics and see if I could find something that I liked to replace it.

Off I went fabric shopping again. And I started having a few ideas running through my head, black and gold stripe lycra, gold velvet, Silk Dupion, sequins. I slept on it and cut it down to, a really nice crushed gold velvet and a gold Silk Dupion.

After speaking with Sue again we decided on the Silk Dupion because we think the velvet showed a bit too much texture and would take away from the shoulder details.
I pattern made the dress again because I couldn’t use the same pattern as this fabric is not a stretch. I toiled it up. And went shopping again to buy the fabric. I have now finished the dress and only have to make the under vest that the shoulder details are going to attach to.

My Range
I was looking through my previous posts and realised I hasn't actually showed my designs and what I'm making so here is an early sneak peak.

Outfit 1 named 'Dakota' is a leotard in a black and gold stretchy knit. It has interesting back detail. The Cape is made in the burnt fabric in the colours green, purple and pink with gold organza. I would like the cape to be tied at the front then get the model to drop it down to a skirt or carry it so the back can be seen as a wow factor. I have drawn it the fishnets or patterned/textured/smokey stockings but I think I have changed my mind and would rather just have plain legs.

Outfit number 2 named ‘Serena’. This has a vest made in black denim and a collar and little bow on the back of the vest attached in the burnt fabric. The burnt fabric has gold on both sides of the collar and pink and blue on the inside. It has black organza over the top. This outfit comes with a gold hot pant. I have drawn it the fishnets or patterned/textured/smokey stockings but I think I have changed my mind and would rather just have plain legs.

Outfit 3 is called ‘Callie’ and is a gold dress with shoulder detail in the burnt fabric. This garment was originally made in a gold knitted fabric but I decided that I didn’t like it so I changed to a gold silk Dupion that looks much better. The burnt fabric has three different layers and all 4 colours are featured; blue, pink, purple green and gold and all layers have black organza burnt over the top.

Outfit 4 named ‘Lexi’ is a strapless black denim mini dress with a sweetheart neckline. It has on overlay in the burnt fabric. This overlay is in purple and blue with gold organza burnt on top. It has a black band through the middle. I also added another feature which is tulle coming out from under the band on the overlay coming down over the skirt.

Outfit 5 is called ‘Bella’. This one is different now and you would have seen in my previous posts that it is different. It is now a one shouldered denim dress. It has a burnt overlay going over the shoulder and down one side of the dress and across the top or the back line. The burnt fabric is in pink, purple and green with gold burnt over the top.

The final outfit number 6 is called ‘Storm’. This is a skirt in the burnt fabric featuring all the colours, blue, purple, pink and green and has a gold organza burnt on top. It has a black waistband and tulle overlay sticking out from under the waistband. The bodice is still not quite made and decided on. It was going to be a plain straight bodice in a black fabric that had a faint gold stripe in it but I changed my mind. I had made another bodice which I used for the photo shoot featuring this fabric and some draping but when its been made up I don’t quite like it with the skirt. It’s beautiful by itself but together I don’t like them together. So I am currently working on a little bit of design to make it look a bit better.

As you can see in the pictures all the garment have a head piece of some sort which I am currently working on, and they also have an ankle bracelet. I have decided to make these on the wrists but they won’t be featured on all the outfits. I think some outfits may also need a necklace but I think I will decided this when I see it on a model.
Friday, October 8, 2010
Care Labels and Brand Labels
I was thinking about what care labels to put on my garments and the more I thought, the more I had no idea. The garments that don't have the burnt fabric attached are ok, because I can just put there fabric composition and the laundering details. But, the garments with the burnt fabric attached are hardly wearable and definitely can't be laundered, so I don't know what to put. Sophie and I came up with a few funny options which were "Wear at own risk" and "Do not launder AT ALL" but I think I'll just sleep on it for a bit and decide later what I'll put in them.
As for brand tags, I should probably order them soon. I found a good website that sells them, but their minimum order is 500 which I wouldn't mind. They also had a good deal to buy 1000 and I know I would use them in the next few years so it wouldn't mind getting that many. Only problem is they are $229 + p&h and I don't really have that much money to buy them after funding my whole range. So, I am going to go with an Adelaide company and I can order 4 dozen for $58 which is much more affordable for me at the moment. I am hoping to go visit them this week and get them ordered and all ready to go in the garments.
As for brand tags, I should probably order them soon. I found a good website that sells them, but their minimum order is 500 which I wouldn't mind. They also had a good deal to buy 1000 and I know I would use them in the next few years so it wouldn't mind getting that many. Only problem is they are $229 + p&h and I don't really have that much money to buy them after funding my whole range. So, I am going to go with an Adelaide company and I can order 4 dozen for $58 which is much more affordable for me at the moment. I am hoping to go visit them this week and get them ordered and all ready to go in the garments.
My Friday At Tafe
Today I had an aim. I wanted to finish outfit number 5. This outfit had changed from my first vision. It was going to be a strapless dress with a frill around the bottom in the burnt fabric, but I decided it was too boring and changed my design. I had made the base of the dress so today I only had to work on the burnt fabric.
This is my precious hot glue gun. It's helping to stick my whole collection together. When I cut the fabric I have burnt it is coming apart a bit so I need to reinforce it with glue. Also a lot of the organza needs to be glued down if it hasn't melted to the plastic well.
This is my precious hot glue gun. It's helping to stick my whole collection together. When I cut the fabric I have burnt it is coming apart a bit so I need to reinforce it with glue. Also a lot of the organza needs to be glued down if it hasn't melted to the plastic well.

I changed my design to being a one shouldered dress with the burnt fabric wrapping over the shoulder. I had completely lined the dress so when I sewed the burnt fabric over the top the stitching lines were going to be seen on the inside and i was also worried of the lining not sitting well on the inside. Because the fabric is so delicate I don't like to play around with it too much and only want to stitch it once and avoid unpicking. I talked to Sophie and she had the idea of using press studs to join it onto the dress and leave it as a separate piece. I liked this idea so much better and it's an easier option.
Here are the pictures of the almost finished garment. I need to hand stitch the press studs on and finish the hem which I might do on the model.


Photo Shoot Number 2
Well... I found out that we are not allowed to put up the shots because of the models contract with their agency. But they are working on getting a release and letting us use them. I took a few behind the scene shots. However, they are no where near as good as the real shots but here's a sneak peak of what's to come.


Wednesday, October 6, 2010
More Painting, More Burning
So...
When I was going through all the fabric I had painted, sewn together and burnt I realised that I had layered the colours wrong on one piece and I think I had also made it a little too small and wouldn't get the pieces cut out of it..
I ordered more fabric. Another 6 metres which now puts my usage upto 31metres. I painted enough for this garment and finished off my 1litre of gold paint and there is small amounts left in the 500ml of coloured paints. I am quite happy about using most of the paints because I don't think I would easily use them again.
I also used 8 metres of gold organza burnt over the top and 6 metres of black organza.
I think I have now finished burning all of the fabric. May just need to fix up some little bits.
So it's back to using the hot glue gun and making sure it is all stuck together now.
Photo Shoot
I had an amazing day when the photo shoot took place.
The morning was a little bit hectic. I had to finish the bodice still and I had left enough time to do it but when it was all together I didn't like it with the skirt. Separately the looked really good but when I put them together I didn't like them much at all. So I had an hour before hair and make up to do something to make it look better.
I finally got something that I thought would look alright in the photo and that it will do..
I got the hair done exactly how I wanted it.. The make-up took a lot longer than I expected which put us a little behind time but it looked very good. I may have wanted it a little different but I didn't have much more time to play around. A big thank you to the hairdressers especially Ashley and the make -up artists from TafeSA Hair and Beauty.
We made our way over to the studio and my photographer Phebe had the studio all set up to start the shoot. She had set the gels up in the lights so the background came up in blue and reds and made the garment look amazing in the photos. I decided to shoot two garments so I did the last outfit which is a skirt in the burnt fabric with a bodice and the first outfit which is a leotard with a cape/skirt made in the burnt fabric.
I was so pleased with the outcome of the photo shoot and I am going to get the rest of my photos soon :) and I would love to shoot my whole range this way because I think it suits my collection really well and I love how its a little different.
I am unsure if I am allowed to post the photos online but I will find out and may post some soon!
Subscribe to:
Posts (Atom)